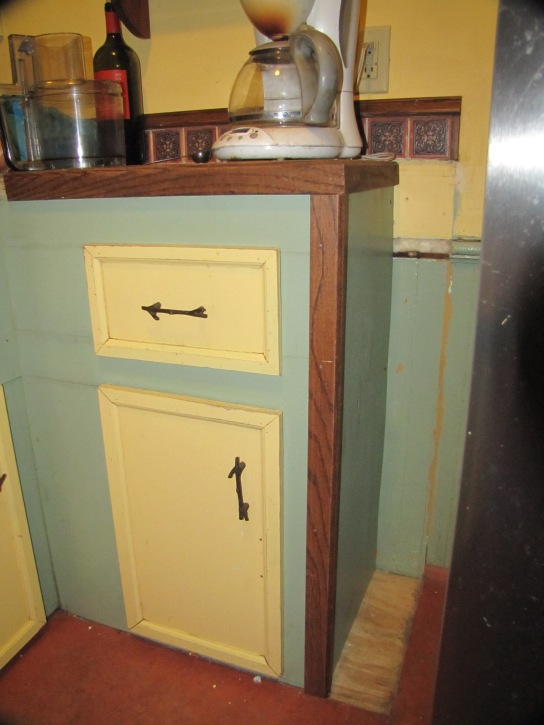
As part of our health year and my desire to reduce the amount of refined sugar that goes into my family’s diet, I decided we needed to do better with breakfast. The boys’ school day starts early and mornings are hectic so they had just been grabbing a bowl of cereal (if they ate at home at all) and running out the door. Chip and I were not eating either – instead relying on the hunger suppressant qualities of our coffee to hold off eating until the afternoon.
Not good.
So we started the new year with a new morning routine that included a real breakfast every morning. I wanted to have 5 basic breakfasts that the boys would like so we all talked about it and came up with 1) Yogurt, fruit and granola parfaits, 2) scrambled eggs with bacon or sausage and an english muffin, 3) egg/cheese/ham sandwiches on an english muffin, 4) egg pancakes (thick crepes) with fruit and sausages and/or maple syrup, and 5) scrambled eggs with veggies. I could always change this up, but we at least had the base menu planned. I also started making muffins and coffee cakes on the weekend that they could grab for afterschool or to take on the bus if they were still hungry.
We usually make our own granola for the yogurt parfaits because it is easy and we can switch it up however we want. The recipe is a Moosewood Classic recipe, which I will basically show you here.

Great book – you should get it if it is not already in your collection. My basic feeling is that if it is a Moosewood cookbook, you won’t be disappointed.
The granola recipe is a very forgiving recipe and allows you to take it in any direction you want. My boys (including Chip) will grab a bowl afterschool or at night sometimes too. About the only required ingredient is rolled oats and maybe the oil/sweet combination. So lets get started.
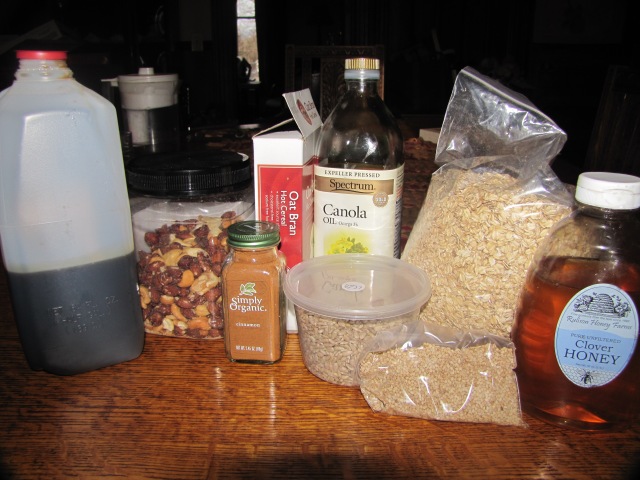
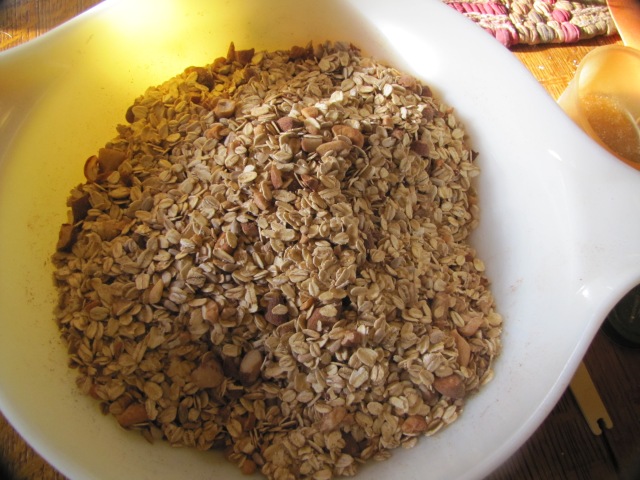
For a cookie sheet worth of granola, you start off with four and a half cups of rolled oats in a big mixing bowl.
Then comes the little things as I call them. The recipe calls for 1/4 cup oat bran, 1/2 cup of sunflower seeds and 1/4 cup of hulled sesame seeds. I used those in the recipe I am showing you today but I will often substitute different things – using wheat germ or bran for the oat bran, pepitas instead of sunflower seeds, coconut instead of sesame seeds, etc. You just basically want to end up with a cup of smaller stuff that gives your granola a nutritional boost.
Then comes the flavors. The recipe calls for an assortment of nuts – blanched sliced almonds, whole roasted cashews and coarsely chopped Brazil nuts and walnuts – in a total quantity of one and a quarter cups of nuts. I just buy a container of mixed nuts, measure out one and a quarter cups, chop them all and throw it into the granola. Here again is where you can improvise as long as you keep within the amounts. You might want to make it all pecans – or add chocolate or dried fruit to your granola. Go crazy. Just make sure that you end up with around one and a quarter cups of good stuff in your granola. (Note that if you are adding dried fruit or chocolate, add them after the granola comes out of the oven so you get the flavors without any burning). Finally, throw in two teaspoons of cinnamon and your dry ingredients are done.

Well – almost done – make sure to mix it up really well before you add the liquid.
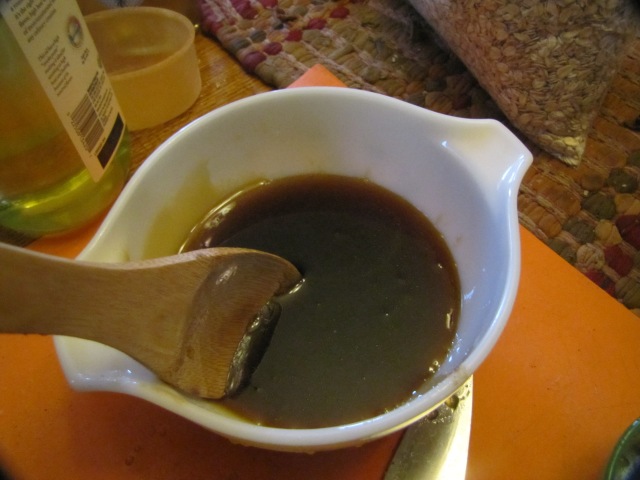
Then grab a smaller bowl and put together your wet ingredients. This is always some combination of oil (to toast it without burning it) and sweet (for flavor). The recipe calls for 1/3 cup of vegetable oil (I use canola), 1/2 cup of maple syrup and 2 tablespoons of barley malt. I tend to use a bit more when I am making this recipe – probably because I am usually a little heavy handed with adding the goodies to the recipe – and I use about 2/3 cup of maple syrup, 1/2 cup of oil and around a 1/4 cup of honey. Maybe it is just me, but barley malt just is more refined a product than I want to use so I switch to clover honey.

When you stir it all together it will get a little thick (probably from the honey).
Then pour it into your dry ingredients while stirring so it mixes in a bit easier
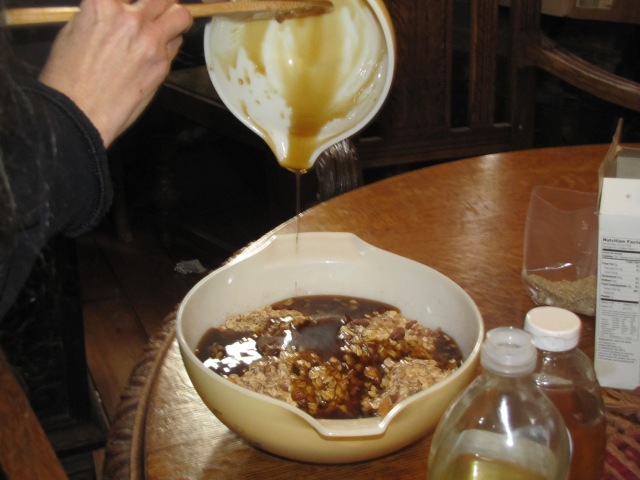
Okay – I wasn’t stirring it in this picture but you can see why you want to be stirring when you put it in, so you have an even distribution of the wet with the dry. If you pour it all in at once and then stir it will take more time until you get an even distribution in the bowl. If your granola still looks too dry, add a little more wet. I add a little more maple syrup – because I like the maple taste.
Then you oil your cookie sheet (lightly) and spread your granola out on it – this pic has gaps to show the oil on the pan.

Place it in a 350 degree oven. Set your timer for 5 minutes and then pull the tray out and stir the granola so that it toasts evenly. Then put it back in, set your timer for another 5 minutes and stir it again. Keep taking your granola out every five minutes and stirring it until it is done – usually about 20 minutes total. I can’t stress enough how important it is to use a timer because it can overcook/burn sooooo easily if you just leave it in without stirring or just for too long. In the end it should be golden.

(The flash made it look a bit lighter than it is but you can see that it is toasted around the edges). Then put your pan on a rack, add your dried fruit and/or chocolate, if any, and keep stirring it every five to ten minutes as it cools. When it is completely cool, just put it in a storage container. It should last the week – by which time it is usually all gone – at least in my house (Hah!) It may last longer, I just can’t tell you for sure. Making granola is a regular weekend project in our house. I like it for lunch too over plain yogurt with bananas.
I hope you try it and you like it. It is so easy to make, you should never need to buy packaged granola again.
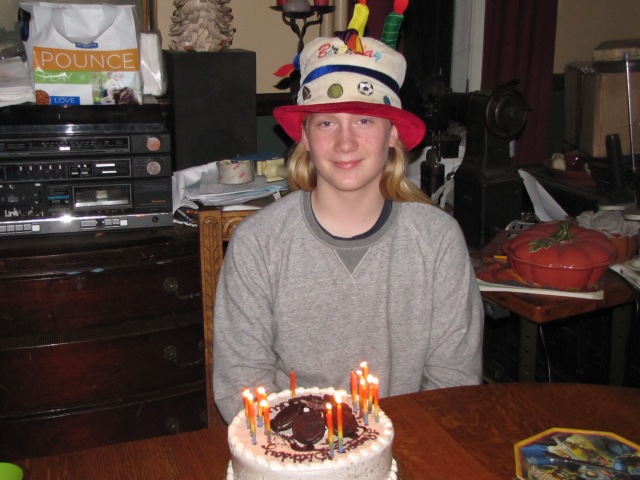
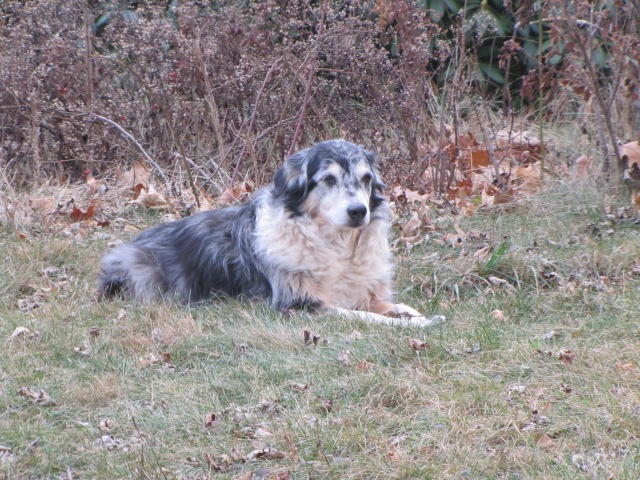
Today’s bonus picture is of Markus at his last band concert. What makes this picture great is that this year he attained the status of “first chair” for trumpet in the jr. high school band. He also plays in the jr. high school school jazz band where he is also first chair.
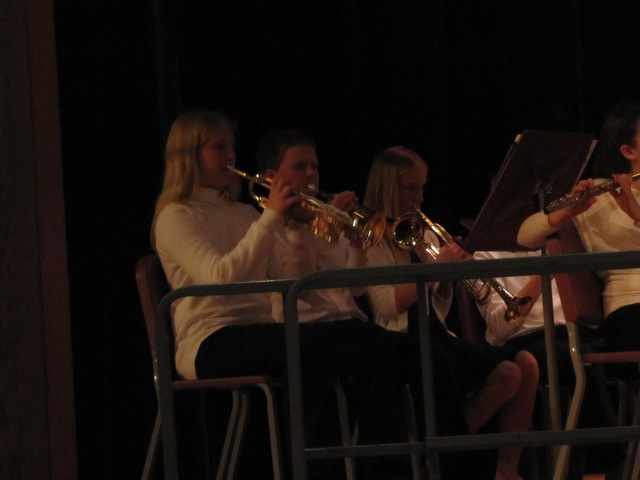
This is a big deal in my family because my Dad was a horn player who taught jr. high drum and bugle marching bands when I was little. We had a basement full of horns hanging from the rafters when I was growing up. Dad also played drums and would try to teach us to play drums and horn when we were little, though none of us ever picked up on it. My Dad and I did play guitar together – but no horn players came out of my generation – or the next – until Markus. Unfortunately my Dad died before he ever got a chance to know that Markus was to become a horn player, but we like to think that he is somewhere able to watch him during his concerts and that he is proud. I know I am.
Onward and Upward. . . . .


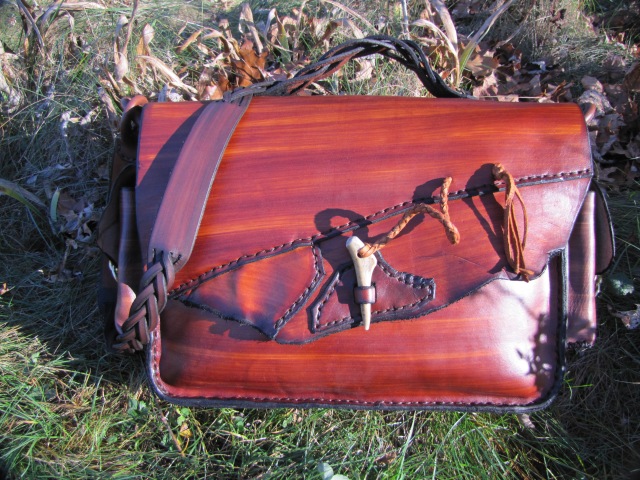

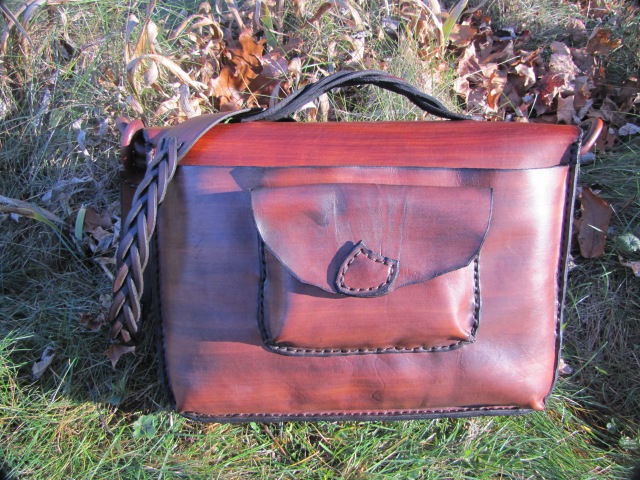


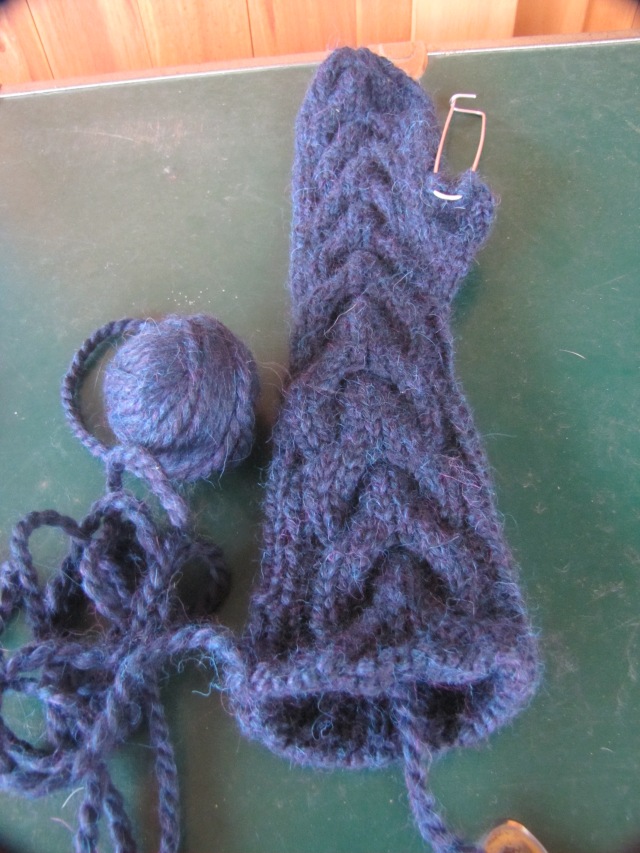
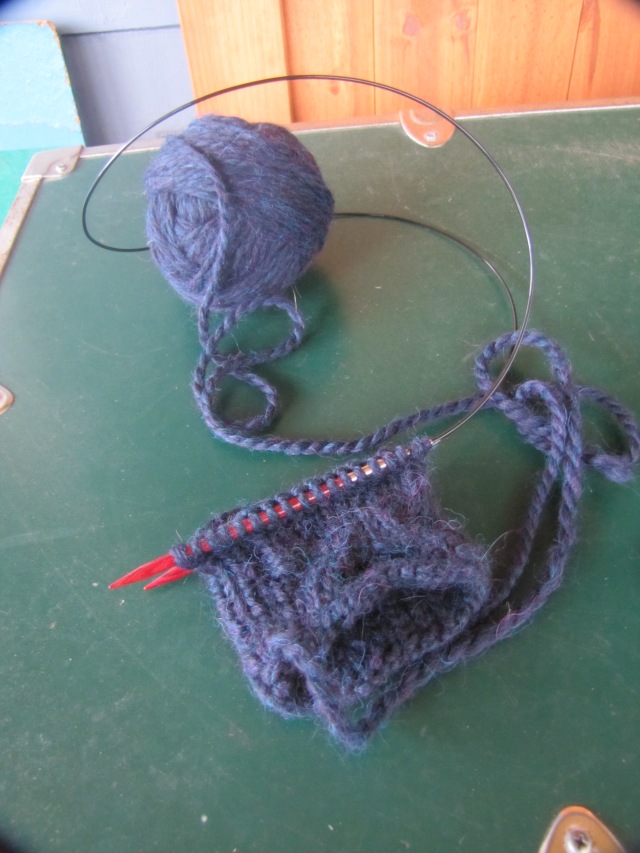


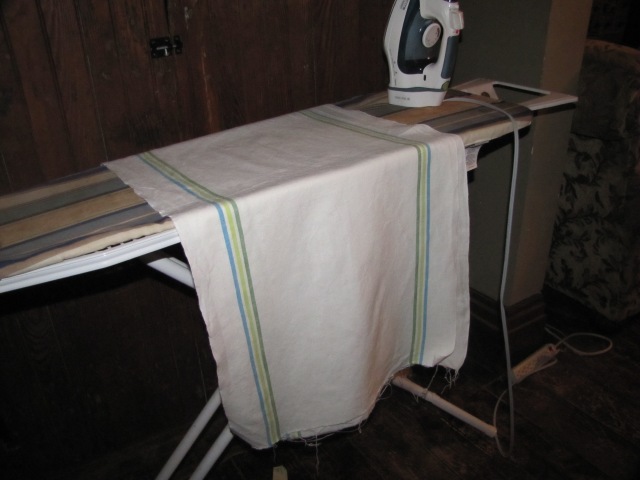
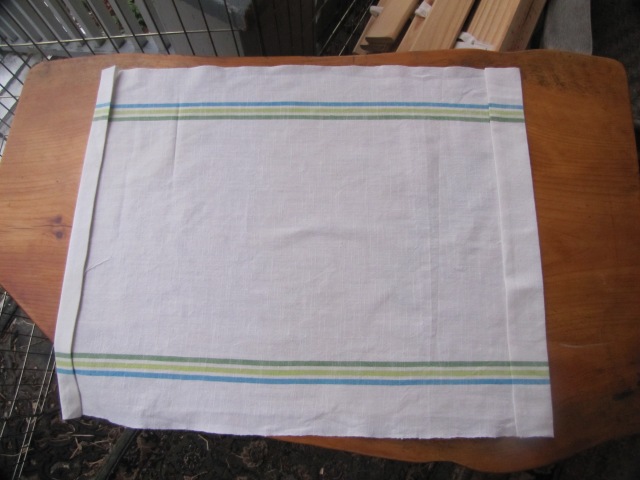
 Alright – not really obvious what I did so you will just have to take my word that I sewed the edges.
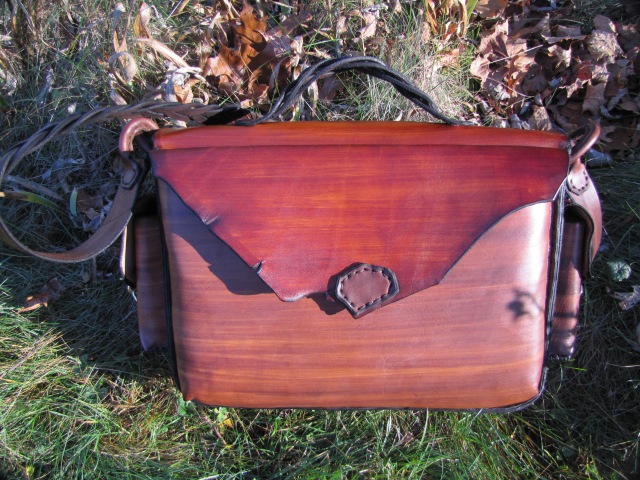
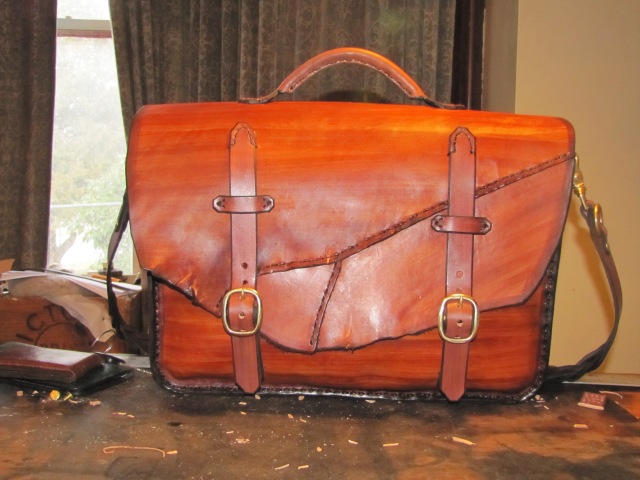